Think your sensitive files are gone just because you deleted them? Think again. Unless you deleted them with a special file-shredding program, your old files are still there, hiding in your free space. So let’s finally get rid of them for good, shall we?
Critical Note: If you’re using an SSD drive instead of a regular hard drive, file shredding does not work and will just wear out the drive faster.
1. Download and install CCleaner
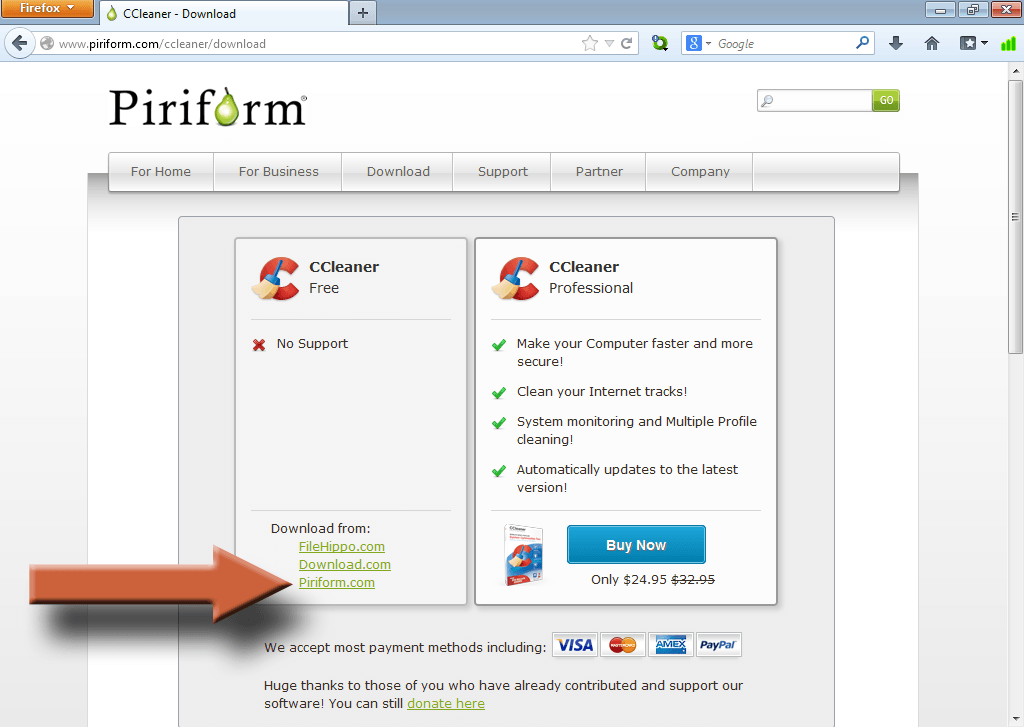
Go to the CCleaner download page and click the link that says Piriform.com for the easiest download. The other download links will work as well.
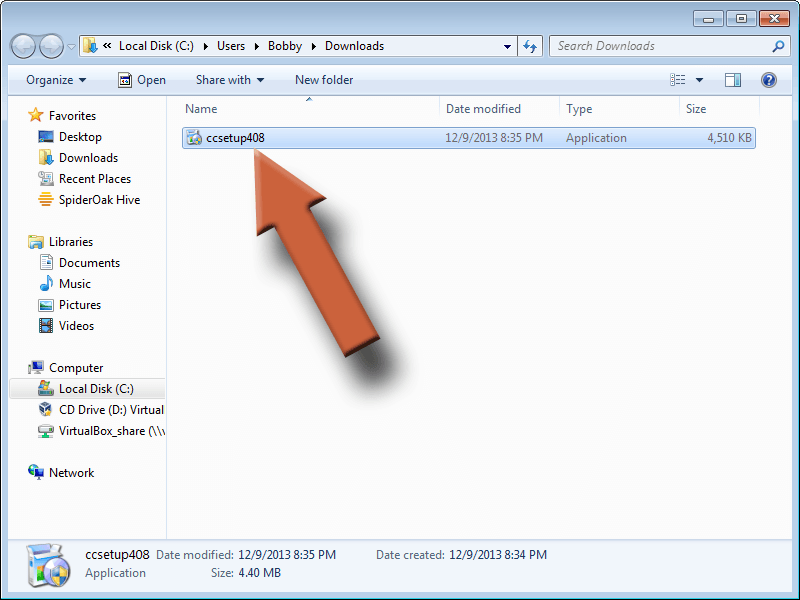
Run the installer if it didn’t start on its own. The version number you see may be different than the one in the picture.
When you get to this screen, click Install. You may select whatever install options you want. Leaving the “context menu” boxes checked will show CCleaner when you right click on the Recycle Bin (handy but not required).
Click Finish when the install is complete.
2. Run CCleaner and wipe your free space
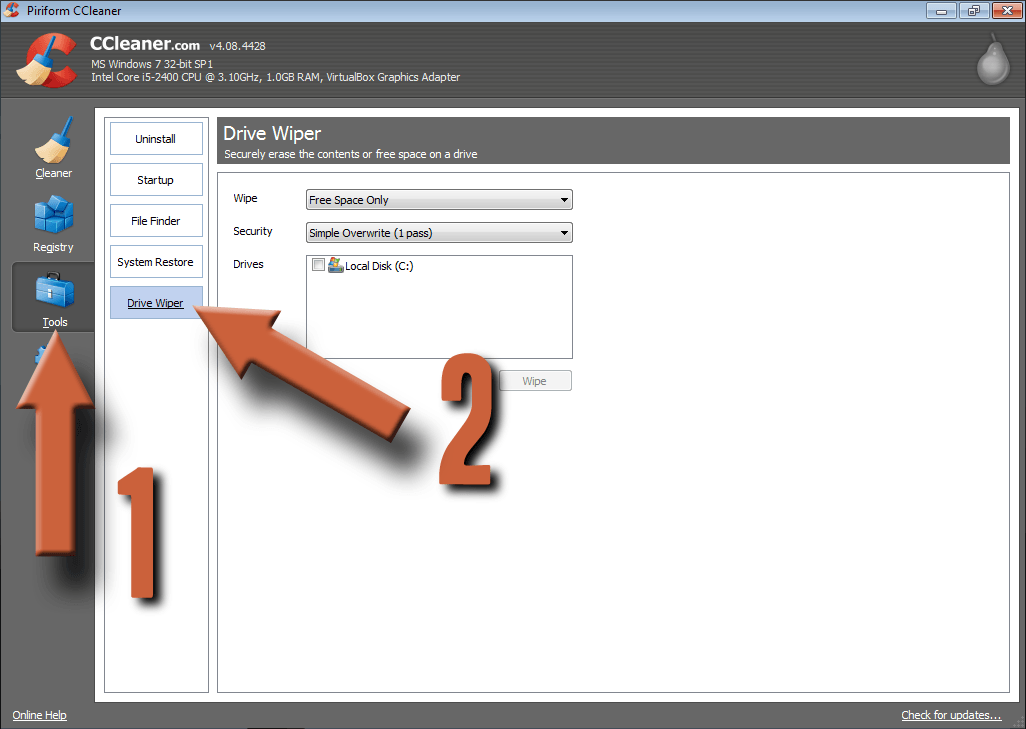
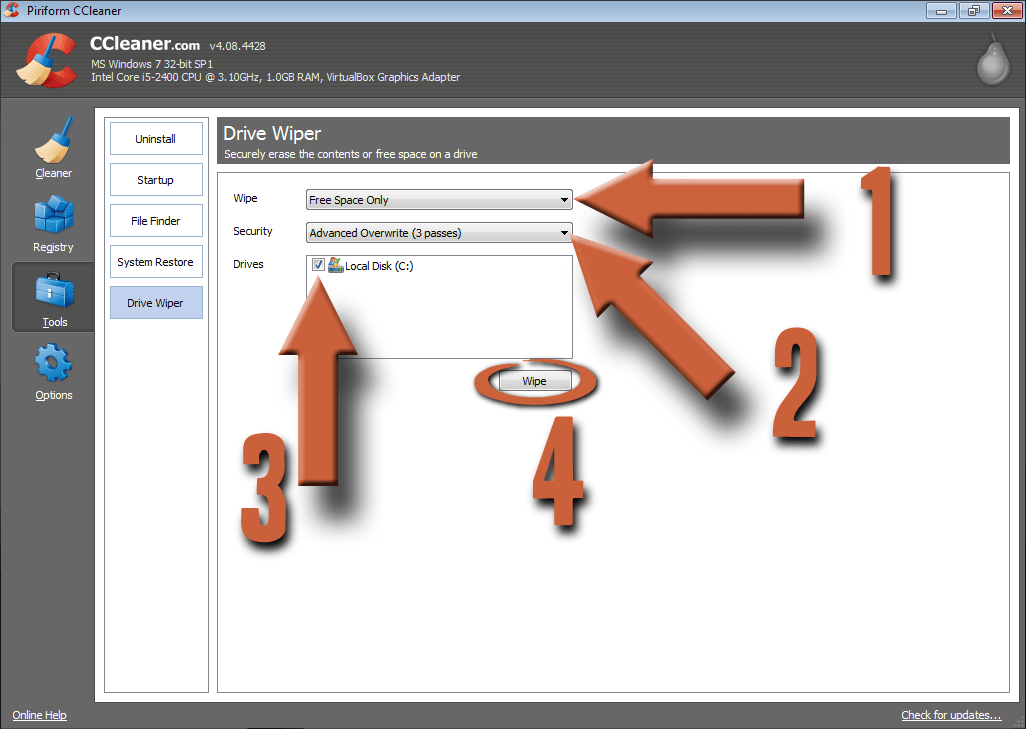
Run CCleaner if it didn’t start on its own. Click Tools in the menu on the left, then click Drive Wiper.
- Make sure that Free Space Only is selected
- Choose Advanced Overwrite (3 passes) – you may choose another if you like
- Check the box(es) for the drive(s) you want to wipe the free space on
- Click Wipe
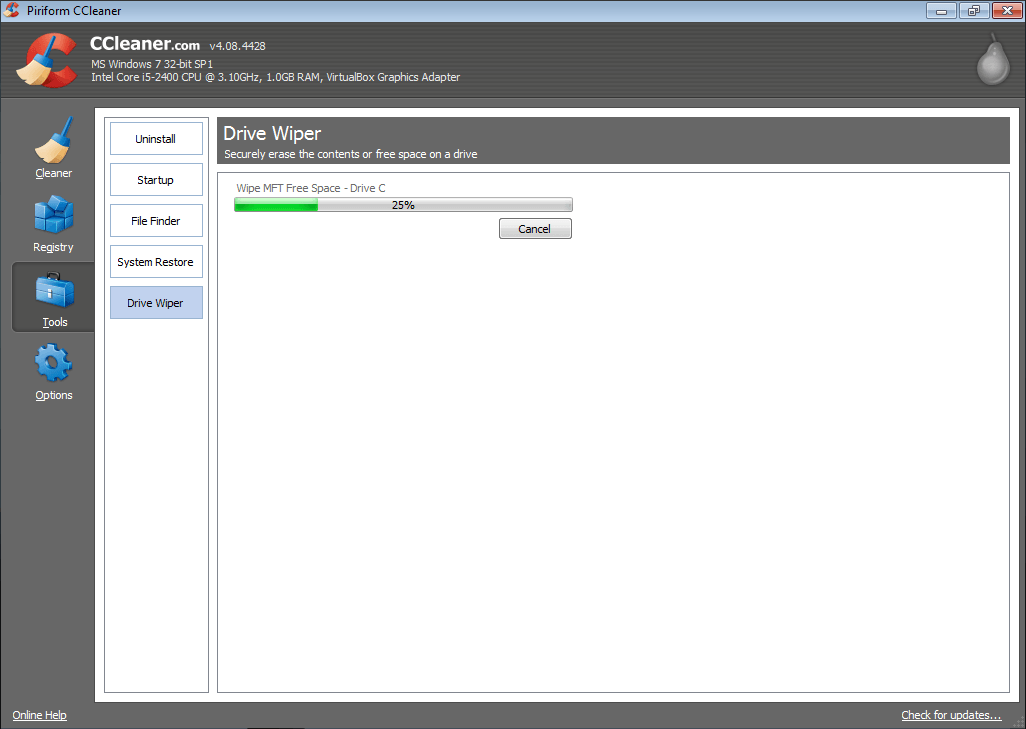
The wipe will start. Depending on how much free space you have, it could take a long time, possibly several hours.
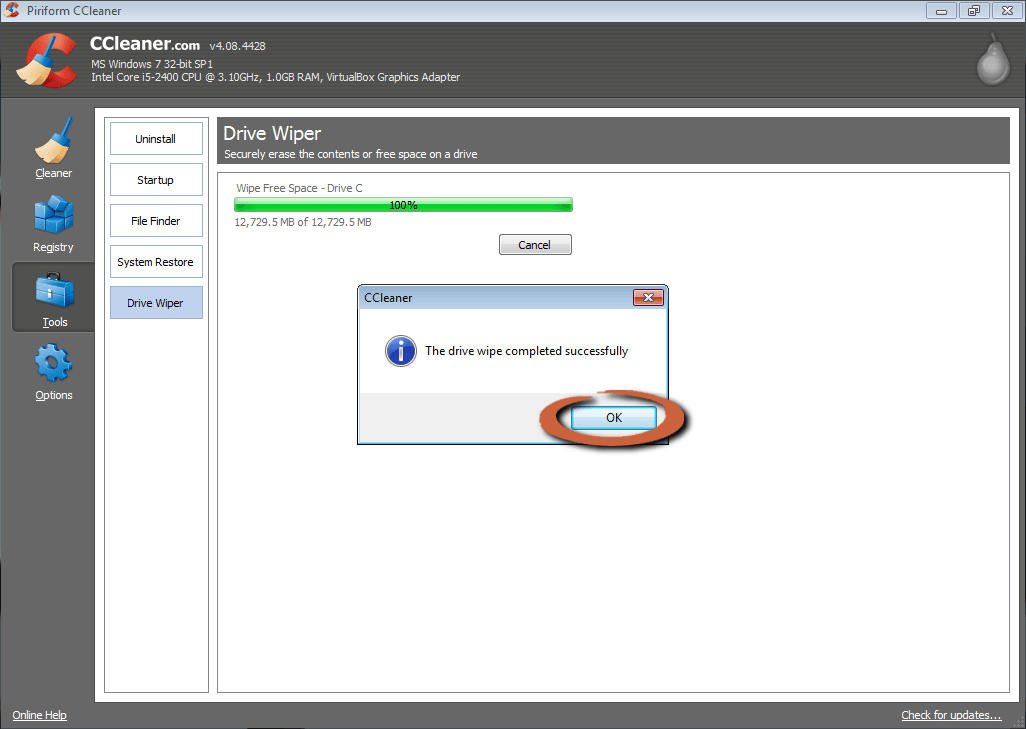
Congratulations, your free space has been scrambled. When it’s done, click OK.
Now Install a File Shredder
Now that your free space is clean, you’ll want to keep it that way. Check out my File Shredder tutorial for detailed instructions. Use it to shred any sensitive files in the future, instead of just deleting them. That way you won’t have to worry about things hiding in your free space again.
Related Articles

